| Posted on

Using a car diagnostic scanner is a straightforward process. Here’s a step-by-step guide:
-
Choose the Right Scanner: Ensure you have an OBD-II (On-Board Diagnostics II) scanner compatible with your vehicle. Most cars made after 1996 use this standard.
-
Locate the OBD-II Port: This is usually found under the dashboard near the steering column. It might be covered by a plastic cap.
-
Turn Off the Ignition: Before connecting the scanner, ensure your car is turned off.
-
Connect the Scanner: Plug the scanner’s connector into the OBD-II port. It should fit snugly.
-
Turn On the Ignition: With the scanner connected, turn the ignition key to the "On" position (but don’t start the engine).
-
Power Up the Scanner: The scanner should power on automatically. If not, check the connection and try again.
-
Select Vehicle Information: Follow the scanner’s prompts to select your vehicle's make and model, if required.
-
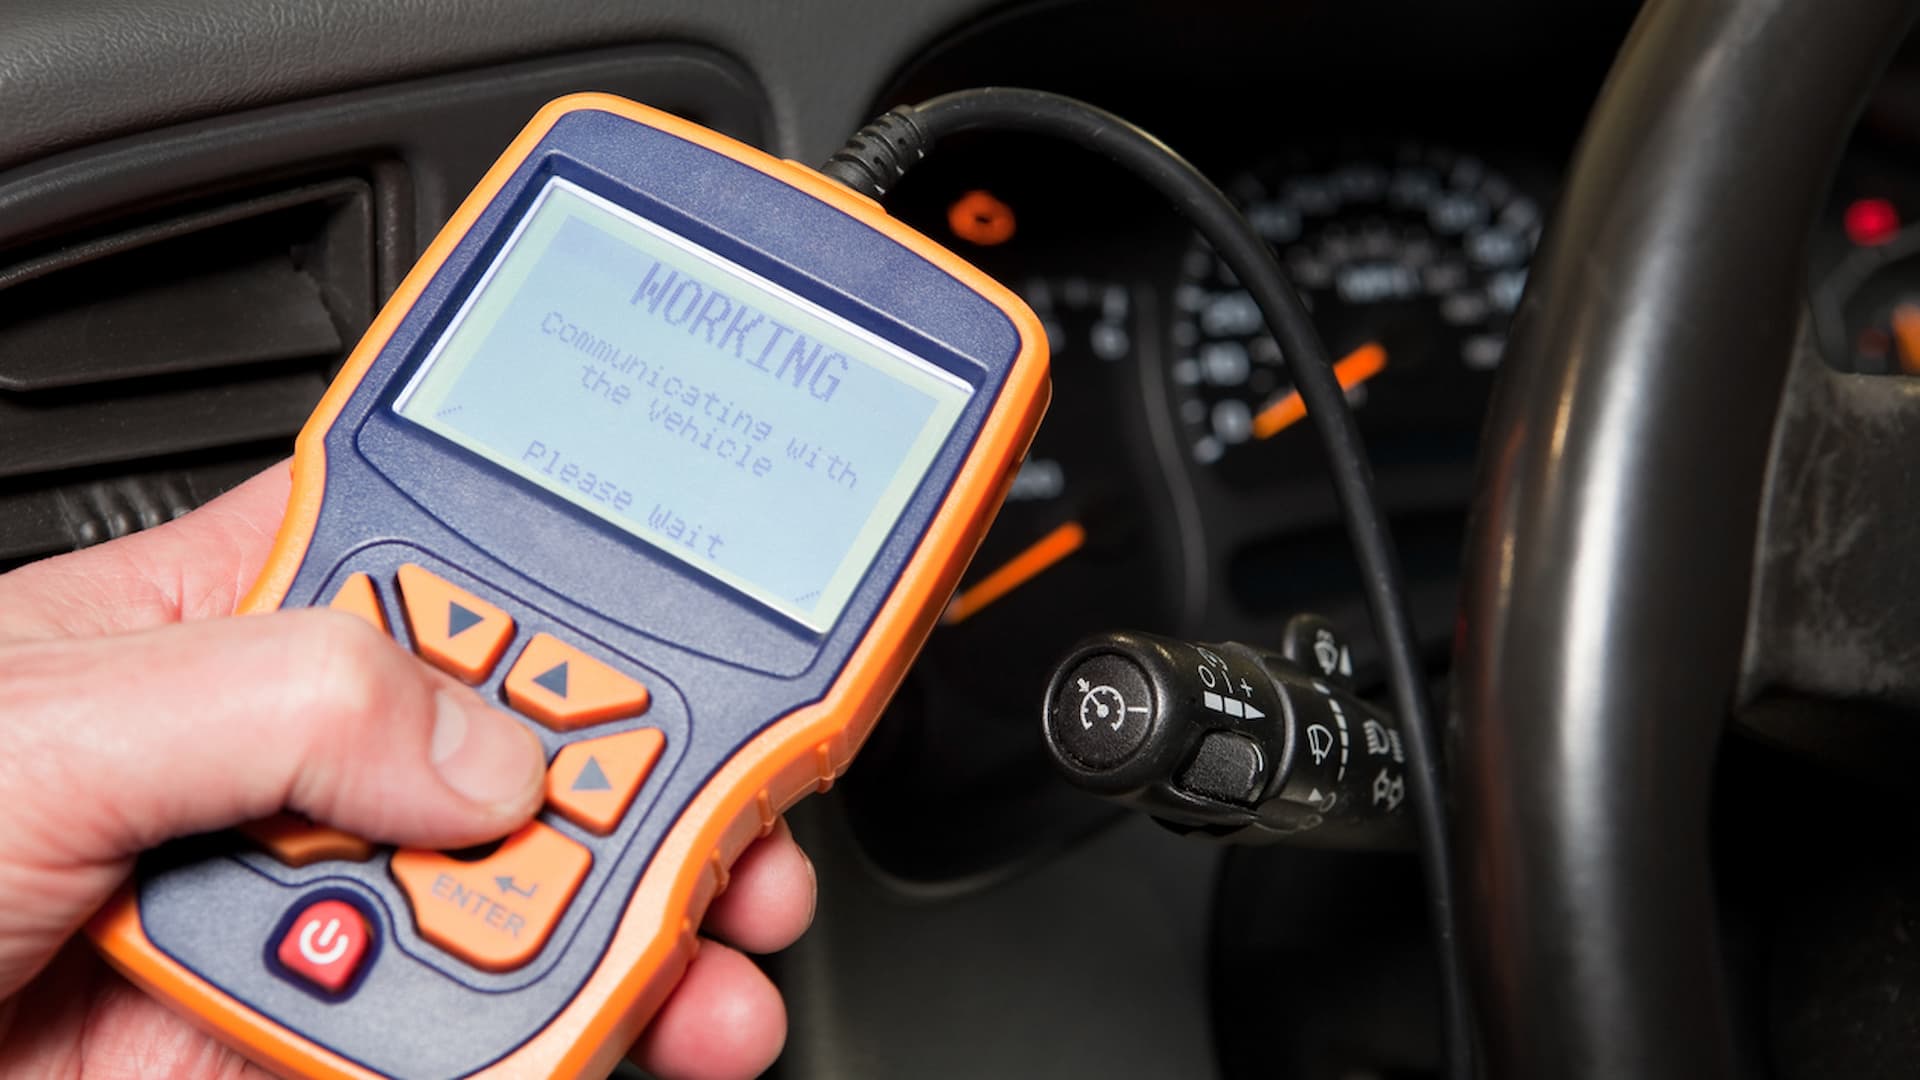
Read Codes: Choose the option to read diagnostic trouble codes (DTCs). The scanner will communicate with your vehicle’s computer and retrieve any stored codes.
-
Interpret the Codes: Look up the meaning of the codes in the scanner’s manual or an online database. This will help you understand what issues your vehicle may have.
-
Clear Codes (if necessary): If you want to reset the check engine light after addressing the issue, select the option to clear the codes.
-
Disconnect the Scanner: Once done, turn off the ignition, disconnect the scanner, and replace any covers.
-
Test Drive (if needed): If you’ve cleared codes, take your car for a short drive to see if any lights reappear.
Refer to the scanner’s user manual for specific instructions, as different models may have varying features.
0
0 Comment
